As an Amazon Associate I earn from qualifying purchases.
Sublimation printing is a heat-transfer process that uses special dye ink to print a design onto transfer paper and then move that design into polyester or a polymer-coated surface. Heat turns the dye into a gas, allowing it to bond with the material instead of leaving a layer of ink on top.
For beginners, the basic process is surprisingly simple: create or choose a design, print it with sublimation ink onto sublimation paper, place the print face-down on a compatible blank, and apply the correct heat and pressure.
I started sublimation printing in 2020, and this guide covers everything I wish I had in one place when I began: what you can sublimate, which equipment you actually need, how to do your first sublimation print, and the mistakes that can leave a design faded, blurry, or completely unusable.
- What is Sublimation Printing and How Does It Work?
- What Can You Sublimate On?
- What Colors Can You Sublimate On?
- What Do You Need to Get Started?
- Sublimation Blanks
- How to Do Sublimation Printing Step by Step
- Where Can I Get Designs for Sublimation?
- Is It Hard to Get Started in Sublimation?
- 5 Essential Sublimation Tips for Beginners
- Sublimation FAQs
- What's Next?
What is Sublimation Printing and How Does It Work?
Dye sublimation printing, or simply sublimation, is a unique printing technique that lets you transfer the design from paper to various materials like fabric or metal by applying high temperatures.
Here’s a step-by-step breakdown of how it happens:
- Print Design: First, you print your design onto a specific type of paper using sublimation ink.
- Heat Transfer: Next, you place the paper onto the material you want to print on, like a t-shirt, and use a heat press to apply high temperature.
- Ink Transformation: Under the heat, the ink on the paper turns into a gas, absorbing into the material.
- Cool Down: Once the heat is removed, the ink turns back into a solid, but now it’s a permanent part of the material.
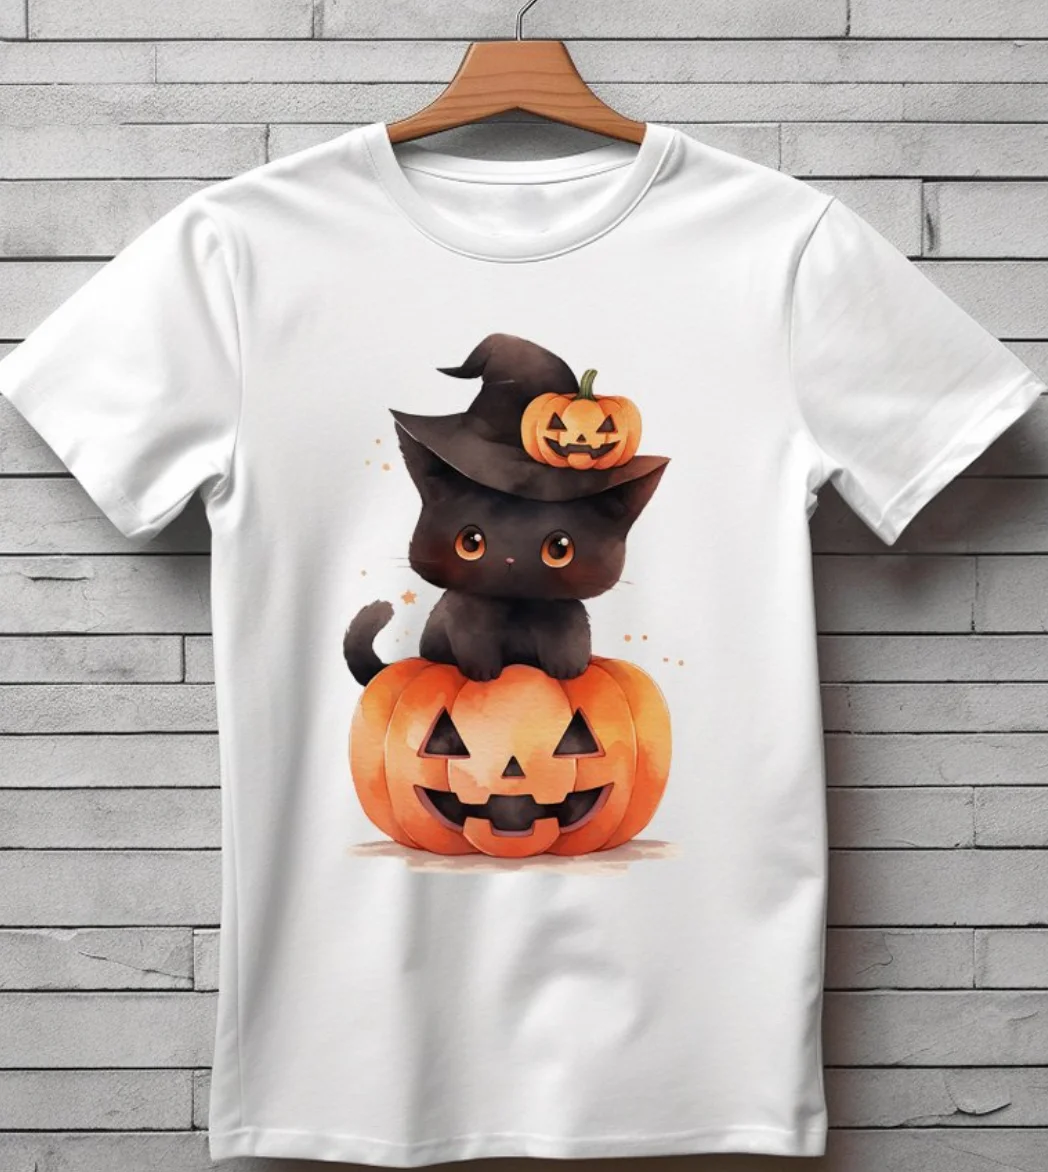
Here’s an example of a Halloween T-shirt that you can create using sublimation:
Unlike regular printing, sublimation requires a specific printer, sublimation paper, and sublimation ink.
However, the process is quite similar – print, press, and voila! Your design is now a long-lasting imprint on your chosen material.
One of the biggest advantages of sublimation is that the dye becomes part of the polyester or polymer coating instead of forming a separate layer on top. There is nothing to crack or peel like there is with vinyl. A good sublimation print is very durable, although prolonged UV exposure, harsh washing, or a poor-quality blank can still cause colors to fade over time.
What Can You Sublimate On?
You can sublimate on many materials and shapes! Sublimation printing creates colorful designs on polyester and products with polymer coating.
It means you can instantly print designs on polyester items, including T-shirts, tote bags, door mats, towels, flags, socks, and more. You can also sublimate on polymer-coated items such as puzzles, tumblers, and a TON of other things.
You can apply a sublimation coating with sprays or buy ready-made products. More experienced crafters can even sublimate on wood and glass using special layers.
You don’t have to use 100% polyester, but sublimation dye only bonds to the polyester portion of a fabric. A 100% polyester shirt gives you the strongest color. Around 65% polyester usually produces a softer, slightly vintage-looking print, and lower-polyester blends become progressively lighter. The cotton fibers themselves do not hold the sublimation dye permanently.
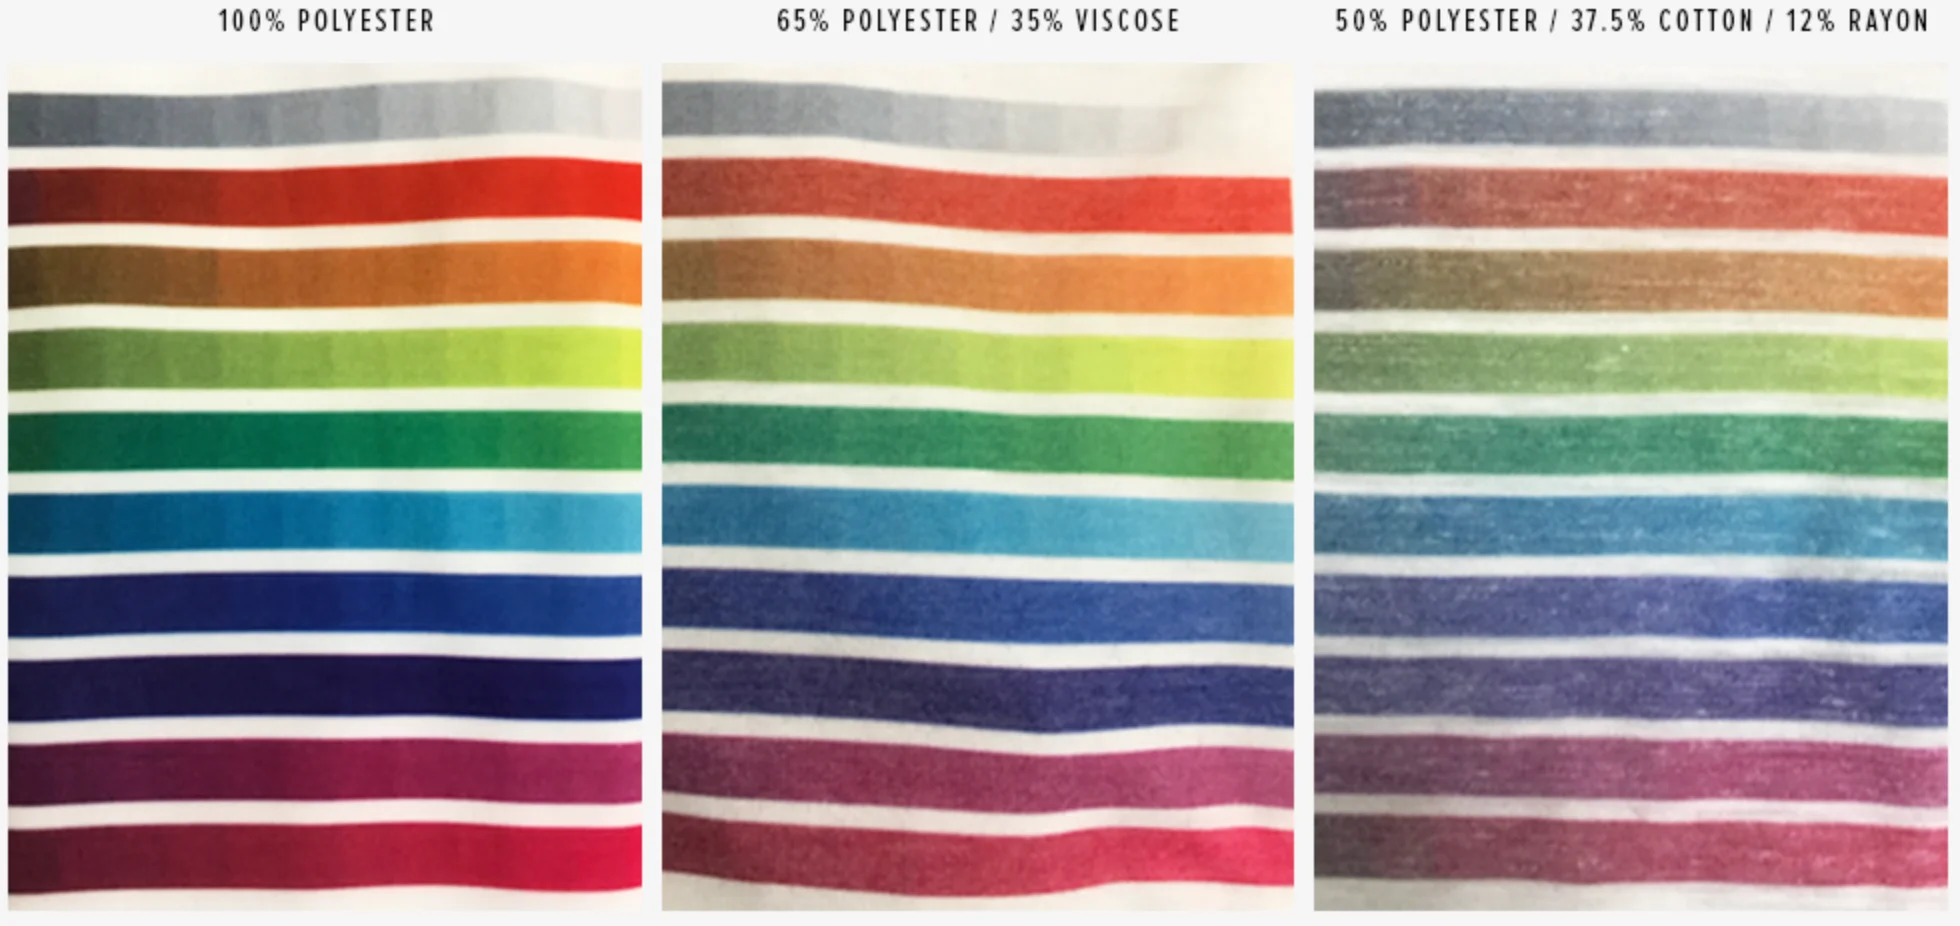
For your first fabric project, I recommend white or very light 100% polyester. It removes one major variable and makes it much easier to tell whether your printer and press settings are correct.
What Colors Can You Sublimate On?
Sublimation ink is transparent, so the fabric color plays a huge role in the final design. Also, sublimation can’t produce white paint – it simply leaves this area blank.
It means that “white” areas will be transparent and adopt the background color. So, a white design will be orange on an orange T-shirt and green on a green towel.
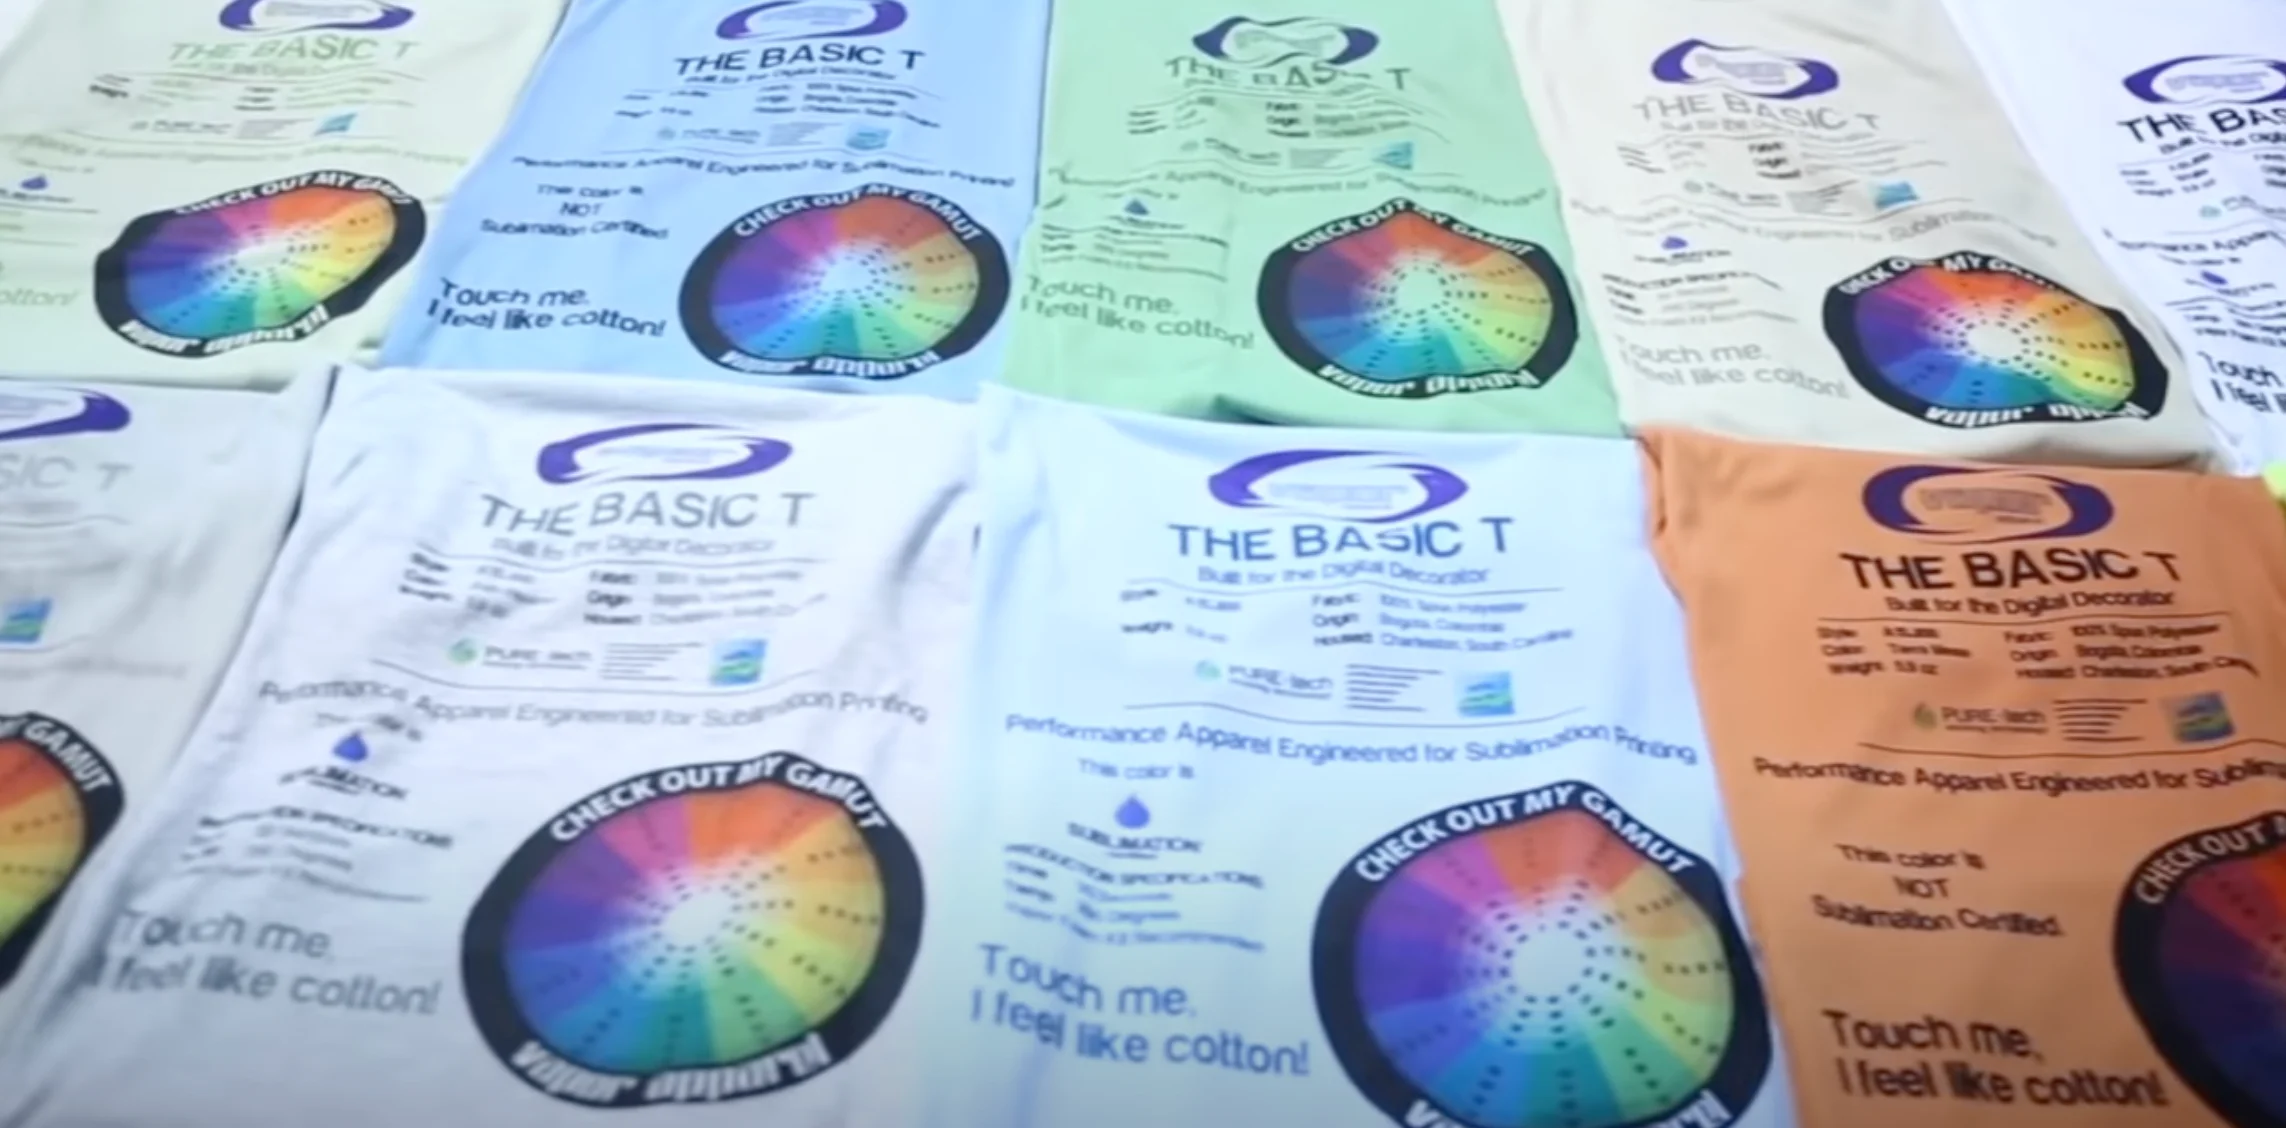
You cannot sublimate directly onto a dark shirt and get bright colors because sublimation printers do not print white ink. There are workarounds, though. You can first add a white polymer-compatible layer such as glitter HTV, flocked HTV, or a purpose-made sublimation material, then sublimate onto that layer.
In that case, the sublimation dye is bonding to the added white layer, not to the dark fabric underneath. It works, but it adds another material and another step, so I would not start there as a beginner.
White or light-colored items are the best choice for beginners in sublimation. You can print on them and get colorful results right away without any extra products.
As you become more comfortable with sublimation, explore different fabric colors and even challenge yourself with darker fabrics.
What Do You Need to Get Started?
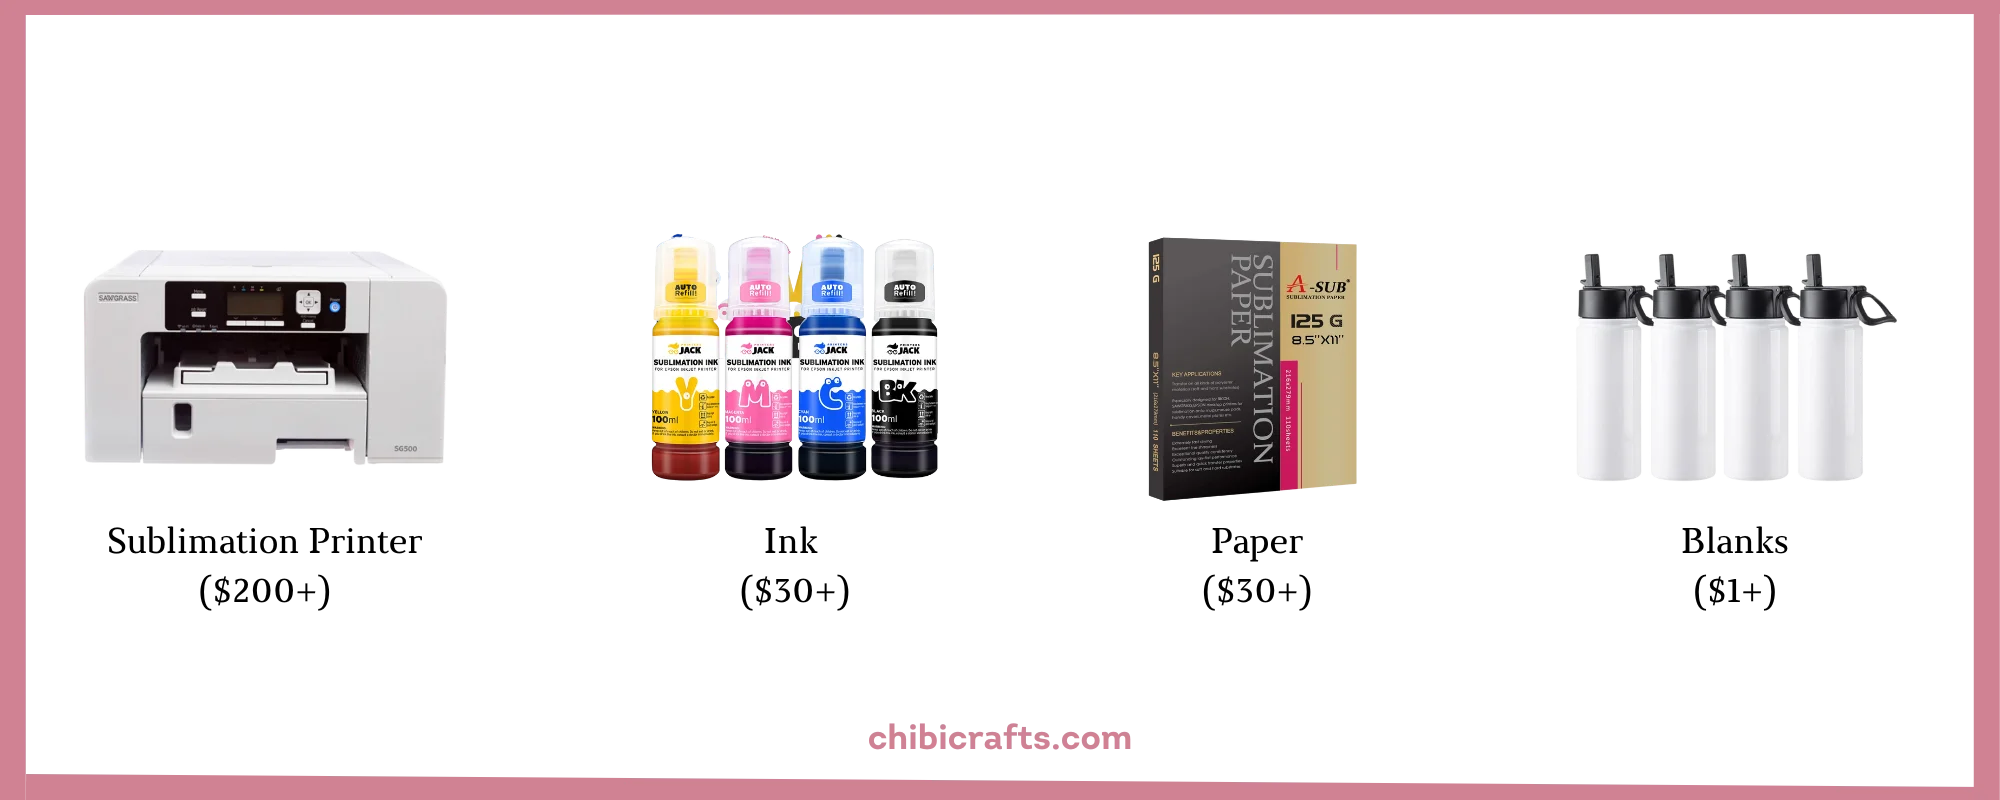
Sublimation requires a printer, heat press, paper, ink, blanks, and protective accessories. You may have some of these if you’ve done other crafts, but others are specific to sublimation.
I will explain how to choose reliable sublimation tools and supplies to get consistent, high-quality results. Here’s a list of what you’ll need:
Sublimation Printer
You can choose from two types of printers: purpose-built and converted inkjet printers.
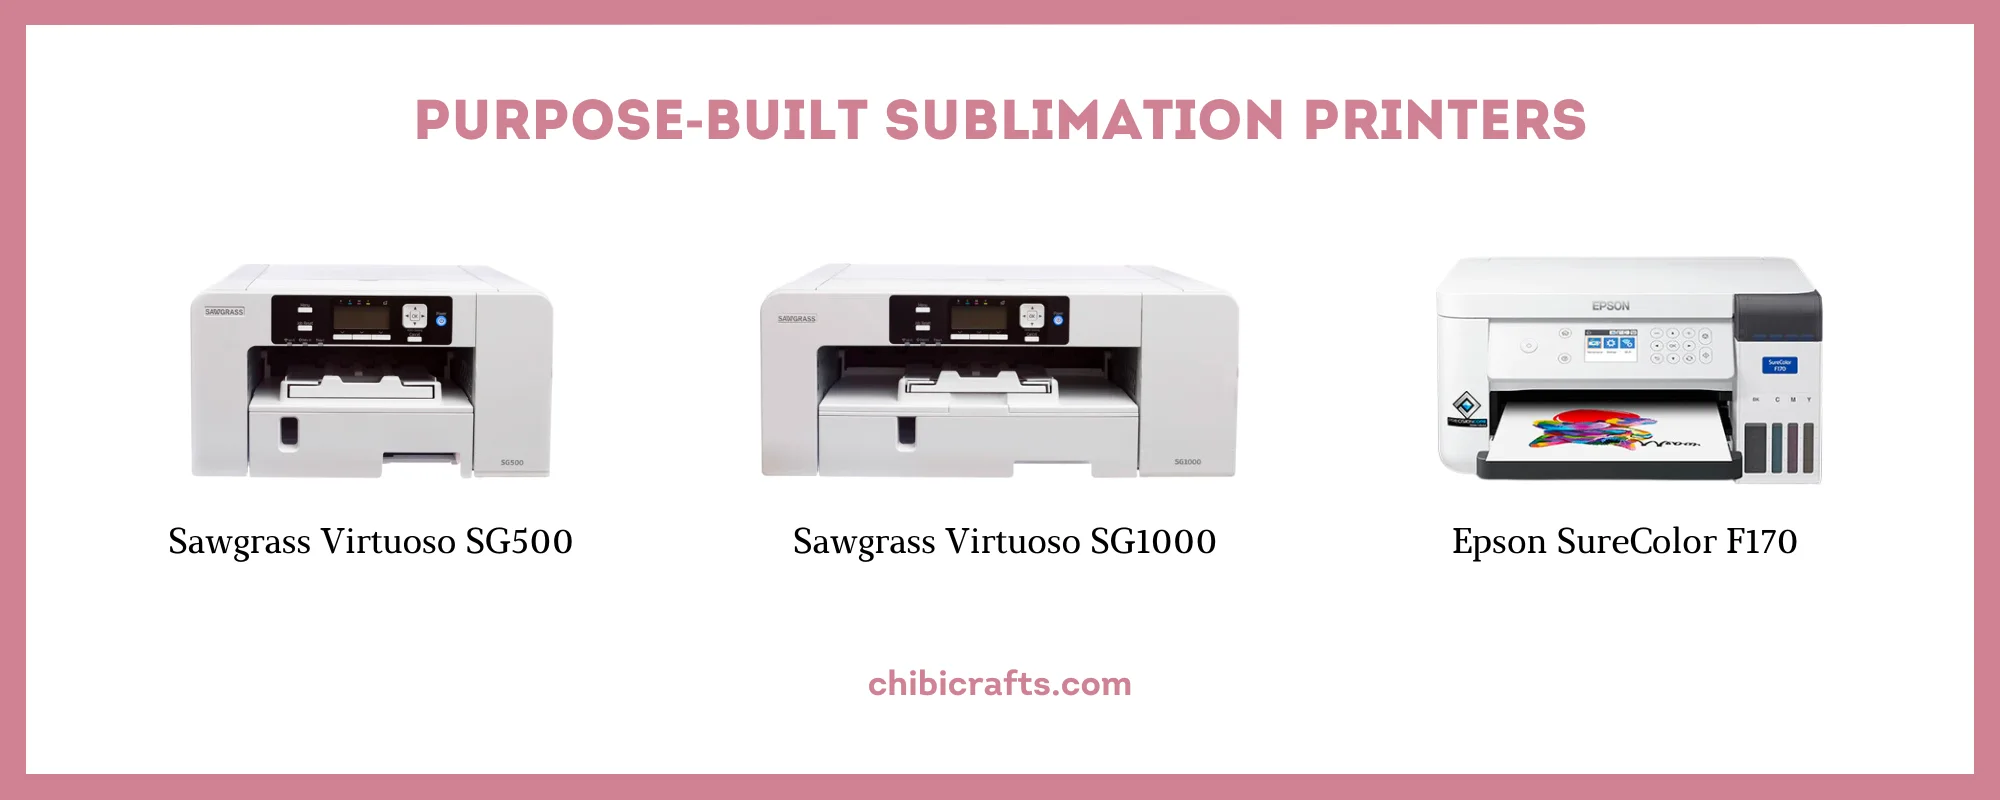
Purpose-built sublimation printers are designed specifically for dye sublimation. They are easy to set up, and support is always ready to help you. Sawgrass even creates free courses and software that come with their printers. They produce beautiful prints but can be pricey.
Purpose-built sublimation printers usually cost more upfront than converting an inexpensive inkjet printer, but you get a printer, ink system, software, and manufacturer support designed specifically for dye sublimation. For reference, Epson currently lists the SureColor F170 at a $399 MSRP.
If you can afford it, go for the Sawgrass Virtuoso SG500 or Epson SureColor F170. They’re top-notch and user-friendly.
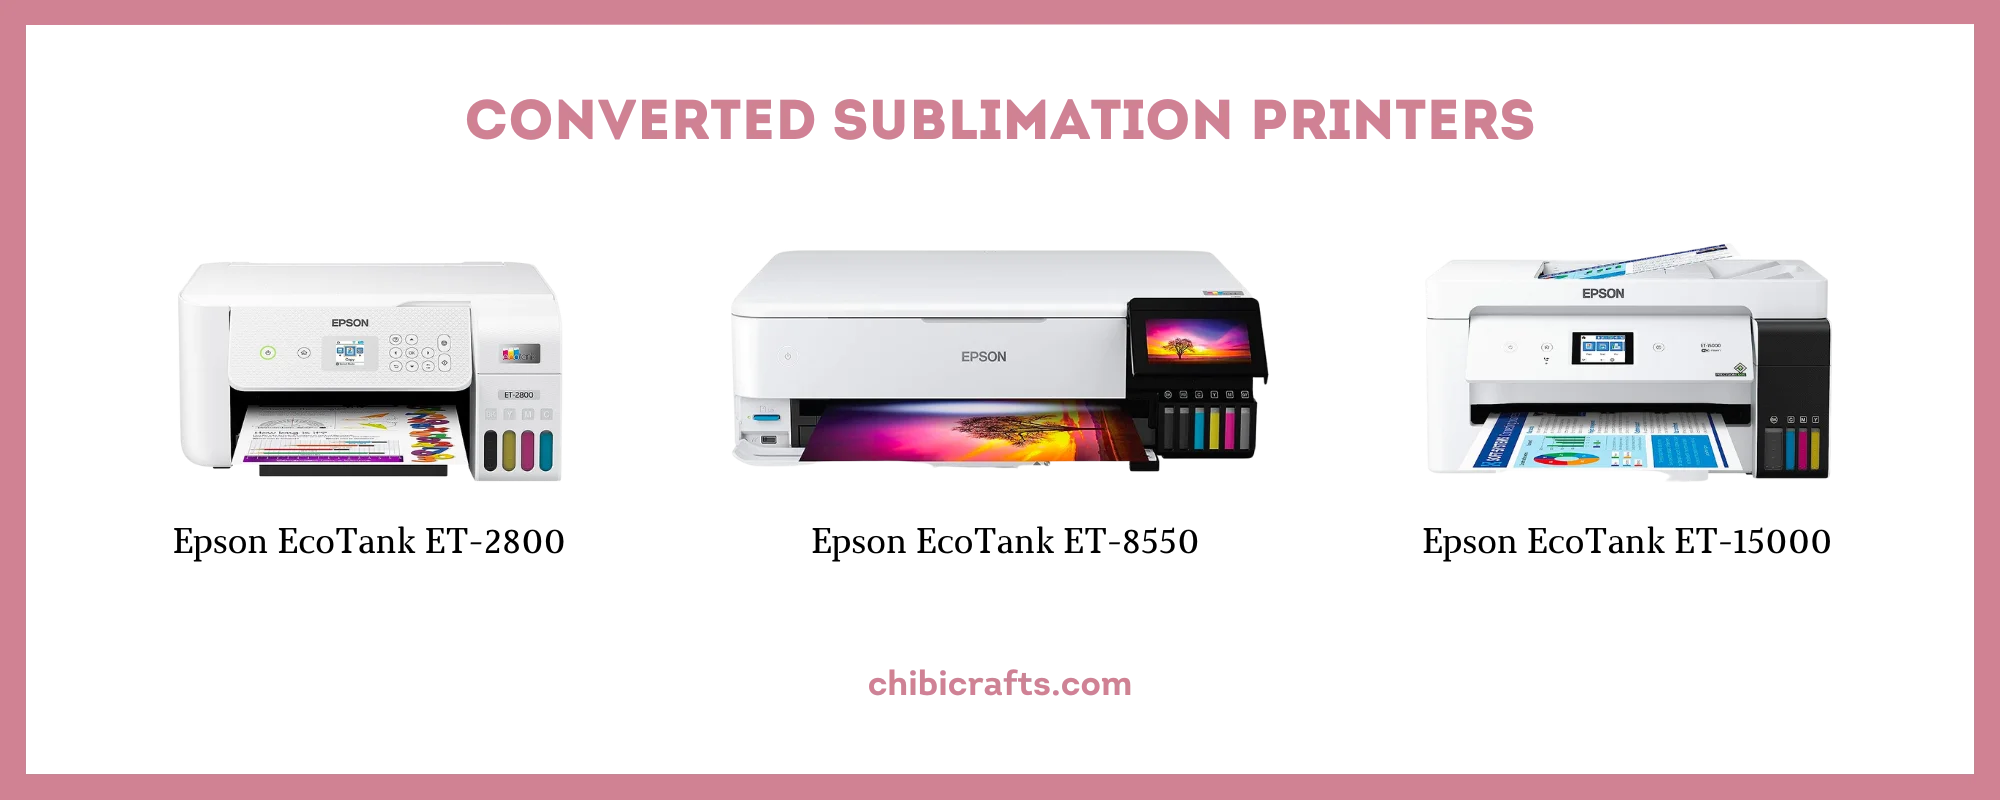
Converted inkjet printers are regular printers that have been converted to sublimation. Not all printers are suitable for this, but only those with the proper type of print head.
Epson EcoTank printers are one of the most common conversion choices because their refillable tanks make it easy to dedicate a brand-new printer to sublimation ink.
I bought the EcoTank ET-2800 as my first sublimation printer and still use it for small format designs.
There are two tricky things with converted printers:
- You can only convert a printer that hasn’t previously used standard ink.
- You will be using the printer outside its intended ink system. Epson states that its warranties do not cover damage caused by third-party ink or ink that was not designed for the printer. That is worth considering before converting a new EcoTank.
To avoid unnecessary risks, consider the Epson SureColor F170. It is a true sublimation printer by Epson, but it costs one-third less than Sawgrass.
Sublimation Ink
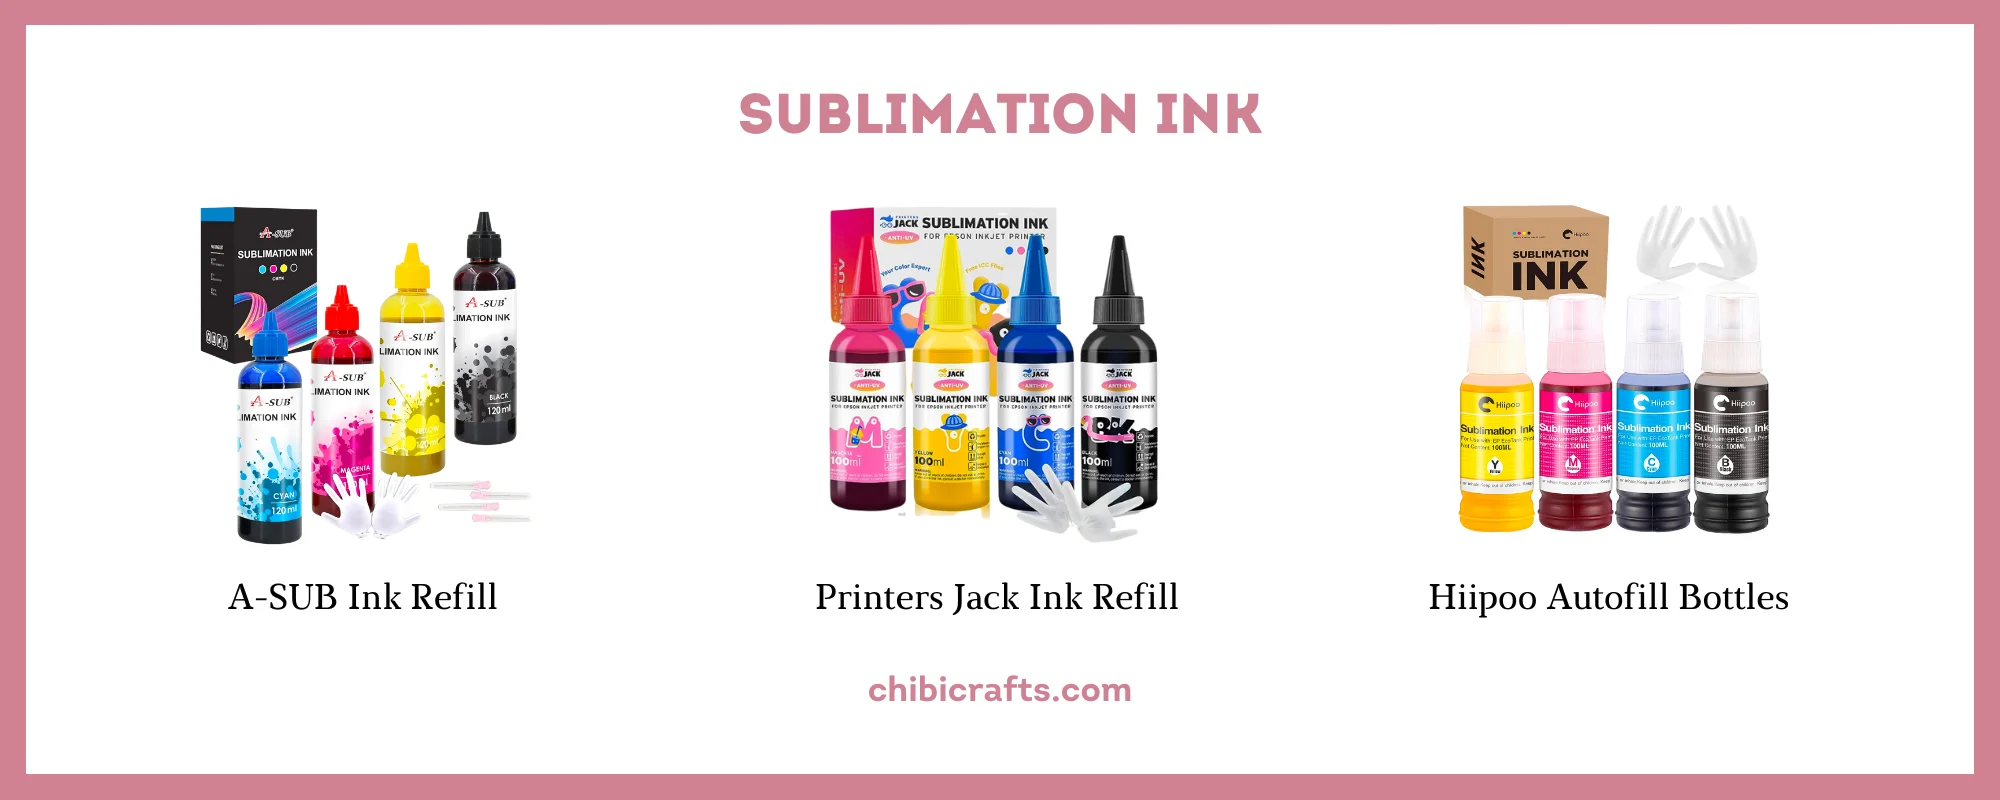
Regular ink won’t work for sublimation. When heated, it doesn’t transform into a gaseous state and cannot create a design.
Sawgrass or Epson SureColor use their own sublimation ink that comes with the printers. But if you are converting a regular inkjet printer, DO NOT use the ink that comes with it.
How to choose sublimation ink?
- Make sure the ink is compatible with your printer.
- Check whether the manufacturer provides an ICC profile for your setup. An ICC profile is a small color-management file that helps your computer translate the colors on screen into colors your printer can reproduce more accurately.
- Get a kit with twice the amount of black ink (such as this one) if you plan a lot of dark designs.
- Hiipoo ink tends to be pricier, while A-Sub and Printers Jack are more budget-friendly. However, all these brands produce high-quality results, so it really depends on your personal preference.
Sublimation Paper
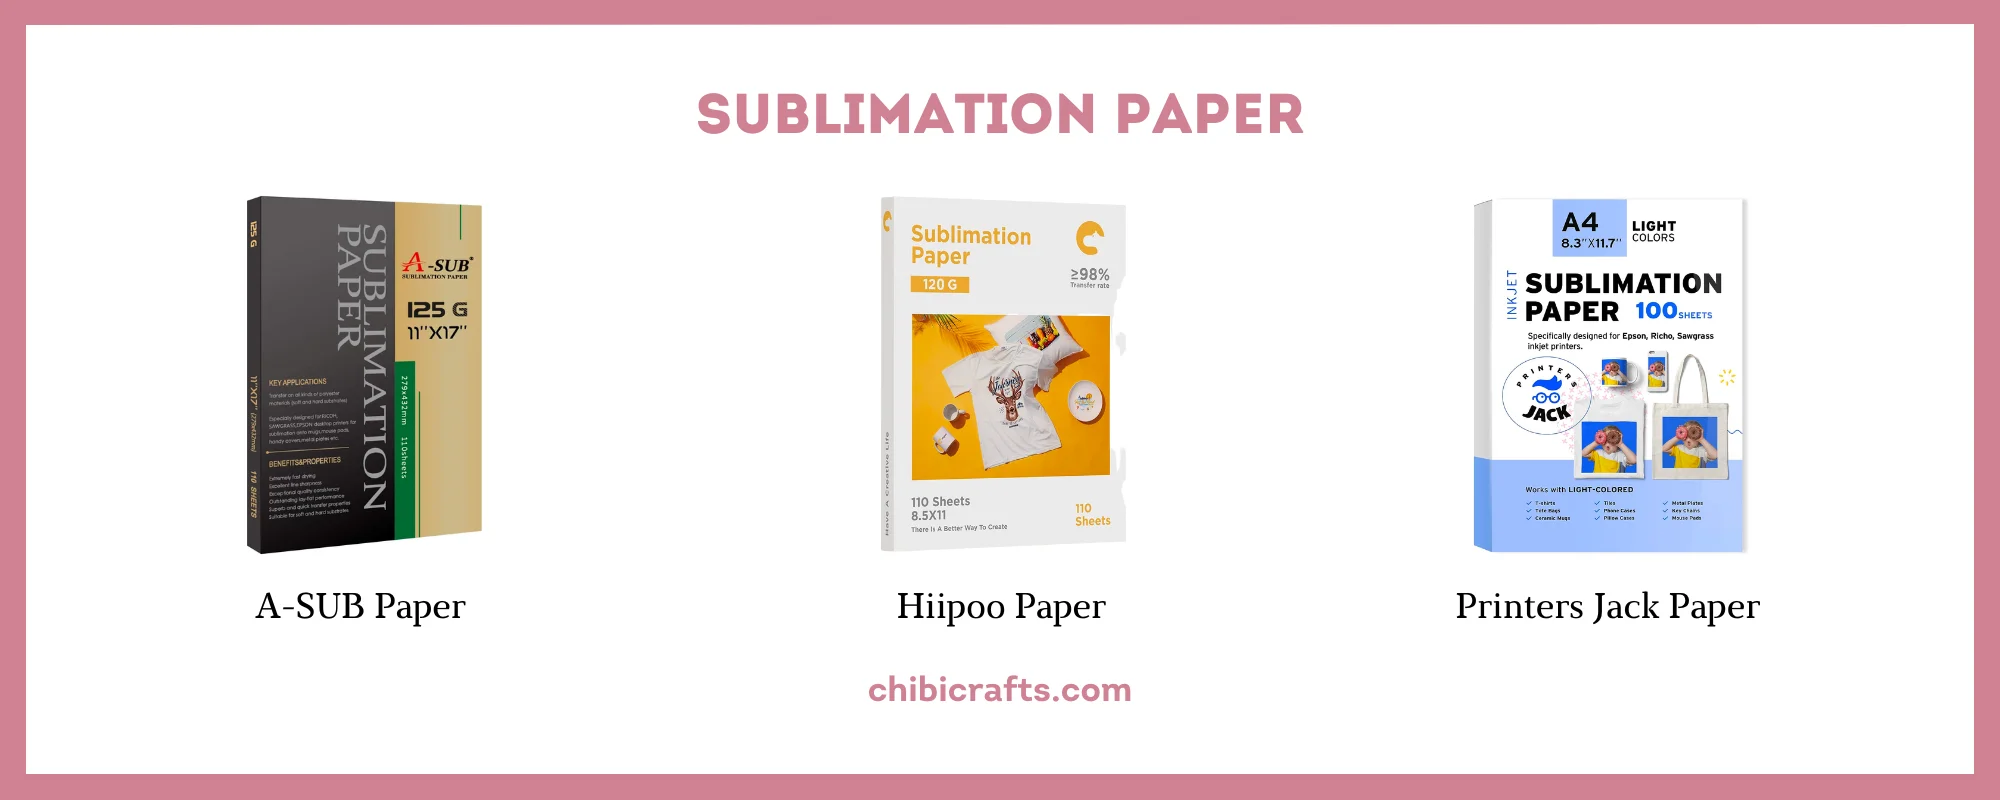
Sublimation paper has a special coating that holds the ink. It creates bright and colorful designs when heated.
Regular copy paper can transfer sublimation ink, but it is not designed to hold and release the dye efficiently. Purpose-made sublimation paper generally gives you stronger color and more consistent transfers.
I’ve had great results with A-Sub and Hiipoo paper. I grab whichever is on sale, and they’ve always worked well.
Remember these two tips on sublimation paper:
- Size Matters. Paper comes in different sizes to match what you’re working on. There’s a standard size for everyday projects and a wide format for larger designs.
- Print side. Most brands make one side of the paper slightly lighter than the other. That’s your print side. Some companies even use watermarks on the back to get your attention.
Sublimation paper is a simple thing, yet crucial for bright and colorful prints. With the right paper, your designs will pop with color and clarity.
Sublimation Blanks
Sublimation blanks, also known as substrates, are blank items that absorb sublimation ink and retain the design after you press them with heat.
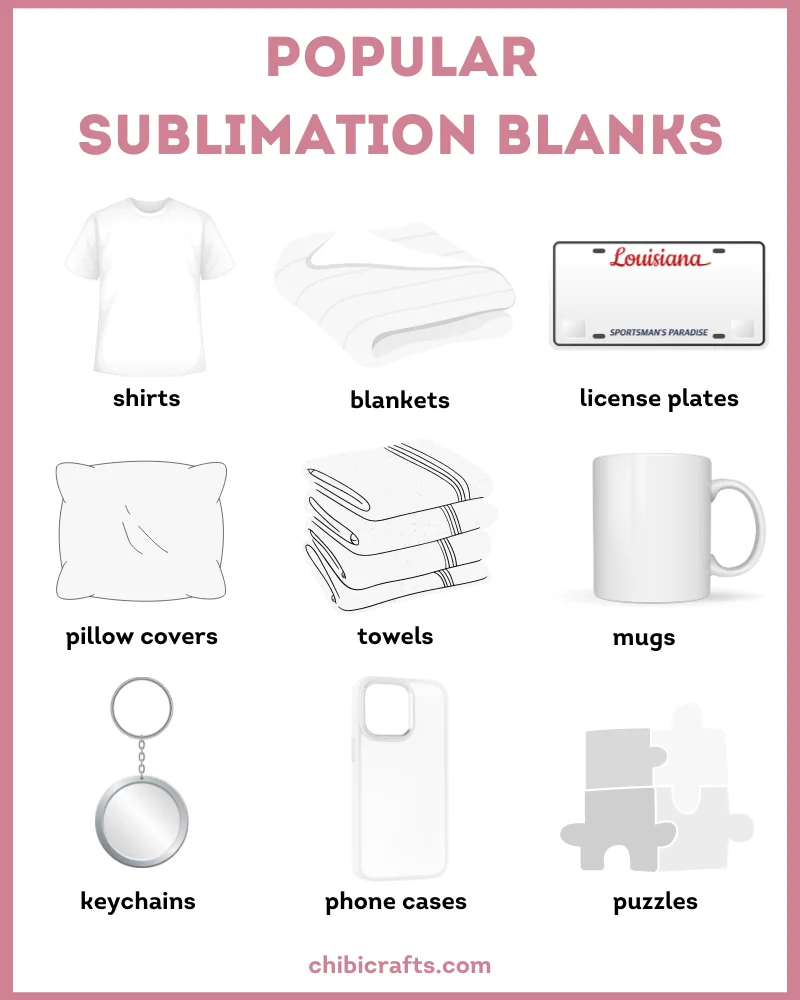
There are hundreds of different blanks on Amazon, in any dollar store like Dollar Tree, and in niche crafting stores.
Don’t limit yourself to polyester t-shirts!
For normal sublimation, look for polyester fabrics or hard blanks with a sublimation-compatible polymer coating. Some heat-safe polymer materials such as certain acrylic blanks can also work, but untreated cotton, rayon, ordinary ceramic, bare metal, and plain glass are not direct-sublimation surfaces. Here’s my blog post about sublimation blanks.
This is what makes sublimation so magical – you can apply coating and print even on unusual items.
Simply take a 100% cotton shirt or towel, use a spray bottle of sublimation coating, and press your design. However, I would treat these as alternative techniques rather than assume a coated cotton shirt will behave like 100% polyester.
But that’s not all! You can apply sublimation coating to lots of materials.
Like metal and ceramic, including license plates, tumblers, and mugs. Just make sure to remove the protective layer (a transparent plastic coating) that manufacturers often apply to protect the product.
You can also sublimate on glass and MDF (a type of engineered wood). Yes, even on things made of wood! Just paint them white and apply a layer of laminate before printing.
Here are some items I sublimated on:
- T-Shirts
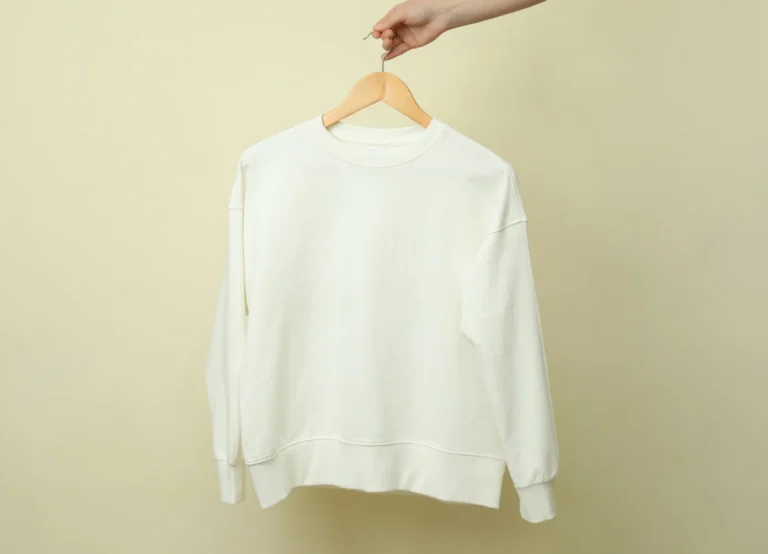
- Sweatshirts
- Tumblers
- Tote Bags
- Pillow Covers
- Towels
- Makeup Bags
- License Plates
- Jigsaw Puzzles
- Mouse Pads
- Door Mats
- Luggage Handle Grips
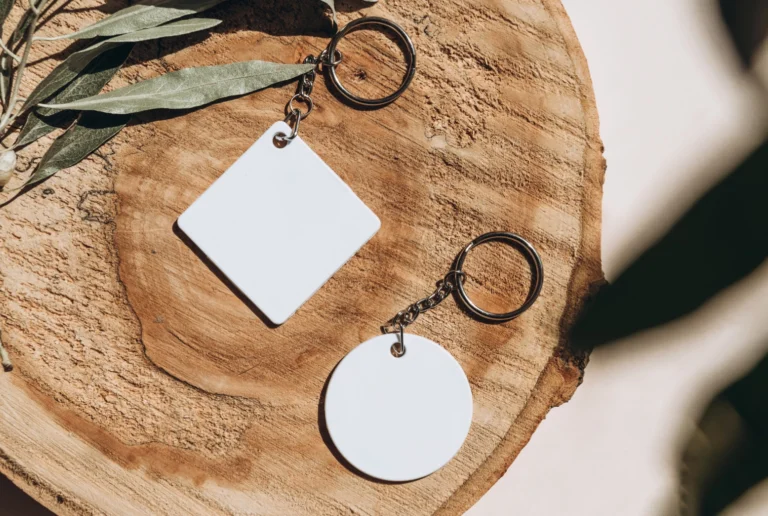
- Keychains and Tag Holders
- … and many more to come!
Heat Press
A heat press provides the controlled temperature, time, and pressure needed to move sublimation dye from the paper into the blank. Many sublimation projects fall somewhere around 375°F to 400°F, but there is no universal setting. Always start with the time, temperature, and pressure specified for your particular blank.
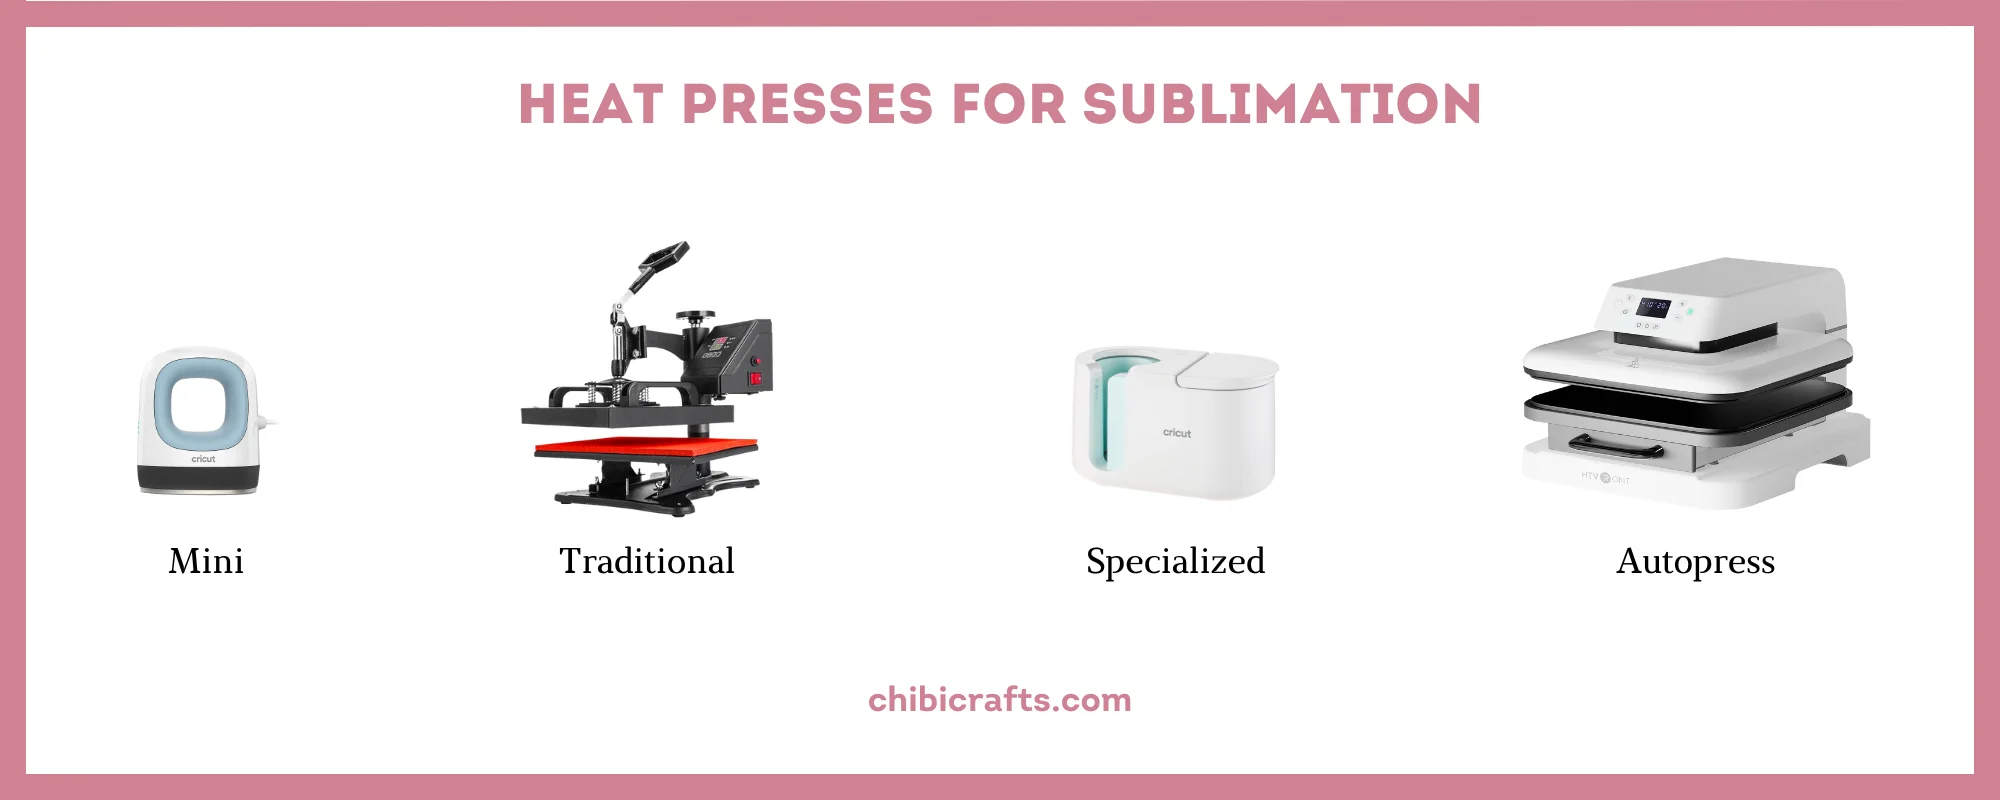
There are four types of heat presses to choose from:
- Traditional Heat Press: This is a good start for beginners. It’s straightforward to use, cheaper than other options, and extremely durable.
- Portable Heat Press: If you have a smaller workspace or need something portable, the Easypress is a compact choice.
- Advanced Autopress: For a more automated experience, the Autopress is a smart pick. It adjusts to the material thickness and controls the temperature for you. I LOVE IT because it lets me prepare the next design while it takes care of the current one.
- Specialized Heat Presses: Working on mugs, hats, or other irregular shapes? There are specialized machines like mug presses, hat presses, sublimation ovens, and multi-functional 5 in 1 heat presses to cater to different projects.
If you’re serious about sublimation and have the budget for it, then the Cricut Autopress is a fantastic option. It simplifies the process, making it almost effortless.
But if the Cricut Autopress is beyond your budget, check the HTVRONT Auto Heat Press. It’s a less popular brand that is 3 times cheaper (!) than the Cricut while offering similar automated features.
Other Supplies
Sublimation involves very hot equipment and blanks, and the dye is heated during transfer, so I work in a ventilated area and keep the pressing surface protected.
You can protect yourself with simple products that many people already have on hand:
- Heat Resistant Gloves – are just as important as oven mitts in the kitchen.
- Uncoated White Butcher Paper – to protect your heat platten from ink overflow.
- White Cardstock – to protect your pads.
- Heat Resistant Tape – to fix your design while pressing.
- Lint Roller and Microfiber Cloth – to remove debris and wipe down hard surfaces.
- Tape Measure and Crafting Scissors – to measure and cut.
These supplies help keep you safe and ensure you’re ready to start your sublimation projects. While different projects might need extra supplies, these basics will cover 90% of your needs.
If you use a craft or convection oven for sublimation, dedicate it to crafting. I would not use the same appliance for food afterward.
How to Do Sublimation Printing Step by Step
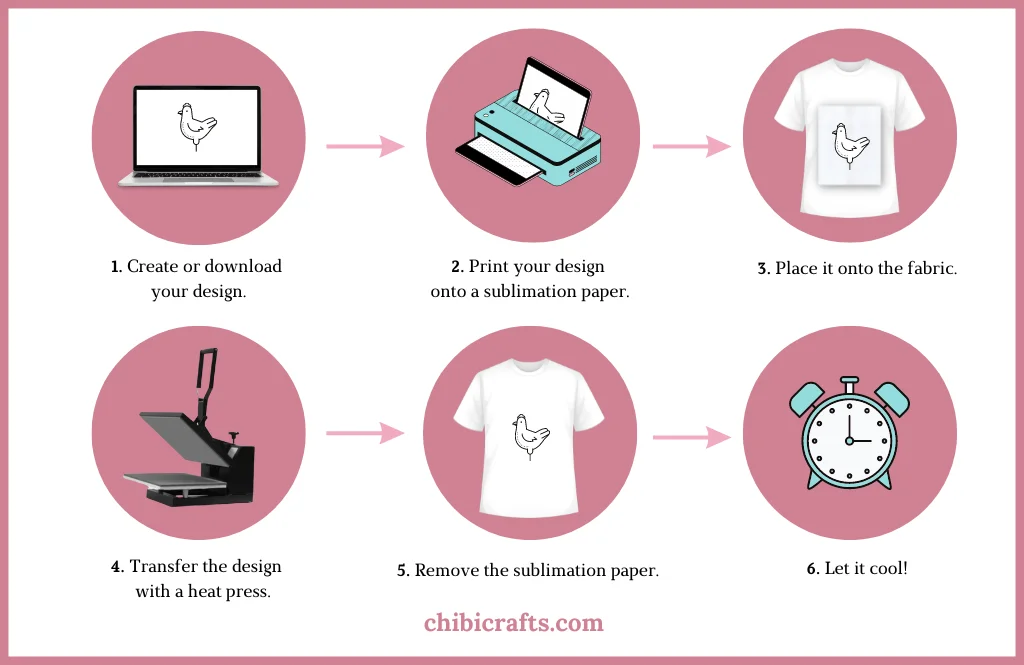
Here’s a breakdown of the sublimation printing process in 5 simple steps:
- Make or Find a Design: Begin with creating or finding a design you love. It can be a catchy phrase, a photo, or a unique illustration you created or bought from a professional designer.
- Print on Sublimation Paper: Mirror the design horizontally unless your printing software does it automatically, then print it onto the coated side of your sublimation paper. Use the settings recommended for your printer, ink, and paper combination. “Photo on Matte Paper” is a common starting point for some converted EcoTank setups, but it is not a universal sublimation setting.
- Prepare the Blank: Lint-roll polyester fabric carefully, then pre-press it briefly to remove wrinkles and moisture. Clean hard blanks according to the manufacturer’s instructions. Add clean butcher paper or cardstock wherever you need to prevent stray dye from reaching the press or another part of the blank.
- Press the Design: Secure the transfer so it cannot move, then use the blank manufacturer’s recommended temperature, time, and pressure. A polyester shirt may need less than a minute, while a mug can require several minutes, so don’t apply one set of numbers to every project.
- Remove the Transfer and Cool: Open the press without shifting the paper. Remove the transfer according to the blank or paper instructions, then let the item cool in a safe place. Sliding the paper across a hot blank can create a second faint image called ghosting.
And that’s it! Sublimation projects take between 2 to 10 minutes, depending on what you’re making and how detailed your design is.
Where Can I Get Designs for Sublimation?
Getting a design for sublimation is easy, whether you want to create your own or buy a ready-made one.
- Creating Your Own Designs:
- You’ll need a computer, either a Mac or PC. While tablets work for simple designs, a computer supports advanced design software which might come in handy as you progress.
- I love using Canva for its ease of use and myriad free templates, but there are plenty of great design programs such as Cricut Design Space, Photoshop, and Sawgrass Exchange.
- Buying Pre-made Designs:
- If design isn’t your thing or you don’t have time for it, buying professional designs is a great option.
- Creative Fabrica is a niche service with thousands and thousands of designs. You’ll find everything you need to sublimate a T-shirt, mug, or tote bag.
- Etsy is a marketplace with DIY goods from thousands of sellers. They sell almost everything – from seeds to ebooks. It’s like a big online fair.
- Mix and Match:
- A little tip – I often buy professional designs and tweak them in Canva to add a personal touch. It’s an affordable and simple way to make a design uniquely yours.
- Selling Your Products:
- Planning to sell items with these designs? Make sure to check and follow the terms of commercial use for the graphics or designs you use.
Is It Hard to Get Started in Sublimation?
Starting with sublimation is like learning any other skill – it may seem challenging at first, but with a bit of guidance, you’ll be on your way to creating beautiful designs.
- Learning the Basics. You’ll be working on a computer to create or find designs, print them, and then use a heat press to transfer them onto your items. If this is all new to you, no worries! There are loads of free tutorials on YouTube to guide you.
- Setting Up Your Space. Sublimation does require some gear like a printer, heat press, and various supplies. Having a dedicated space, like a desk or a small room, can help keep things organized.
- Unleashing Your Creativity. Whether you’re tweaking ready-made designs or crafting your own from scratch, a little creativity goes a long way. Past artistic hobbies can be a plus, but if you’re new to the creative scene, you’ll find plenty of inspiration and easy-to-follow design tutorials online.
- Budgeting for Your New Hobby. Your biggest expenses are the printer and heat press. A purpose-built Epson SureColor F170 currently has a $399 MSRP before you add a press, paper, blanks, and accessories. A converted EcoTank can lower the printer cost, but you’ll need third-party sublimation ink and should understand the warranty limitation mentioned above. After the initial setup, costs depend almost entirely on how many projects you make, so a generic monthly budget isn’t very useful.
Sublimation is a rewarding hobby that allows for a lot of creative expression. With a little patience, some tutorials, and a dash of creativity, you’ll be creating stunning sublimated items in no time!
5 Essential Sublimation Tips for Beginners
I’ve been doing sublimation since 2020 and made many silly mistakes early on. Here are 5 tips that will make your journey smoother:
- Keep the Printer Active. If a sublimation printer sits unused for long periods, nozzles can dry or clog. Print something periodically, run a nozzle check when output develops missing lines, and use cleaning cycles when they are actually needed rather than wasting ink on unnecessary cleanings.
- Don’t Assume Faded Means “More Pressure.” A faded transfer can come from the wrong blank, insufficient heat or time, clogged nozzles, printing on the wrong side of the paper, or incorrect pressure. Change one variable at a time so you can identify what actually fixed the problem.
- Try Before You Buy Big. It’s tempting to buy in bulk for discounts, but test products first to ensure quality.
- Check the Ink’s Actual Expiration Date. Shelf life varies by ink. Epson, for example, lists its F170 T49M ink at two years from production or six months after opening. Follow the instructions for the ink you actually use.
- Change One Variable at a Time. If a transfer fails, don’t change the paper, temperature, pressure, and ink settings all at once. Make one adjustment, test again, and keep a note of the settings that worked for that blank.
Sublimation FAQs
Can I use a regular printer for sublimation?
Yes, but only certain printers with the right kind of print head can be converted for sublimation
The Epson EcoTank line is the preferred option. You can also contact any electronics store’s support to find other compatible models.
Can I use a sublimation printer for regular prints?
No, converting a sublimation printer back to a standard printer requires a lot of effort and ink. It’s not a switch-back-and-forth kind of deal.
Why does my sublimation print look dull on the paper?
That’s normal. Sublimation ink usually looks noticeably duller on transfer paper than it does after pressing. Heat activates the dye and brings out the final color. If the finished item is still dull, then start checking the blank, temperature, time, pressure, nozzles, and color settings.
Do I need to mirror a sublimation print?
Usually, yes. The printed side of the paper faces the blank, so text and directional designs normally need to be mirrored horizontally before printing. Some printer software can mirror automatically, so check that you aren’t mirroring the same design twice.
Can I sublimate on dark-colored fabrics?
Yes! Use glitter iron-on vinyl or white-flocked vinyl. It takes a bit more time and adds a little to the cost, but it’s doable.
Can I sublimate on uneven surfaces?
Absolutely, with specialized heat press machines, you can sublimate on irregular shapes.
Are there any limitations to images?
For raster images such as JPGs and PNGs, 300 PPI at the final print size is a good target, but a smaller image does not magically become sharper just because you change its resolution setting to 300. Vector artwork can scale without the same loss of detail.
Most four-color sublimation printers physically use cyan, magenta, yellow, and black inks, but you do not necessarily need to design your artwork in CMYK. Many home sublimation workflows use RGB artwork and let the printer driver or ICC profile handle the conversion. White is still a limitation because standard sublimation printers do not print white ink.
How do I care for printed clothes?
- Wash it inside out to prevent damage from other items in the load.
- Wash colored and white garments separately.
- Use mild soap or detergent and water.
- Hang clothes on wooden or plastic hangers, or set the dryer to AIR or Low heat.
- Store in a cool, dry area.
DO NOT: use metal hangers, wash in hot water, iron, overload the washer/dryer, dry clean, use bleach or fabric softeners.
What is the easiest thing to sublimate?
A small, flat, white sublimation blank is easiest because it needs simple positioning and even pressure. A polyester mouse pad or coated coaster is a very forgiving first project. A white polyester T-shirt is also beginner-friendly, but lint and moisture introduce two extra things you need to control.
Is sublimation ink toxic?
Don’t assume every sublimation ink has the same safety profile. Use ink intended for your printer, follow the manufacturer’s handling instructions or Safety Data Sheet, keep ink away from your eyes and mouth, and ventilate the room while pressing. Epson also instructs users to wash ink from skin and flush it immediately if it gets into the eyes.
Is sublimation printing eco-friendly?
Yes! Sublimation uses less water than other methods and the inks are often water-based, making it a more earth-friendly choice.
What’s Next?
After reading this sublimation printing for beginners guide, you should have a clear understanding of what sublimation is, the necessary supplies to get started, and how to avoid common mistakes. Now it’s time to roll up your sleeves and get started.
The first step might feel like a giant leap, but with every design, you’ll only get better!